Smoke detectors save lives. It's that simple. But only if installed correctly, tested regularly, and placed in the right locations. Whether you're moving into a new home or updating your current safety system, having a reliable smoke detector setup is non-negotiable.
This comprehensive smoke detector installation checklist will walk you through everything. Let's make sure your home is protected, step by step.
Why Are Smoke Detectors Essential?
Fires can happen fast. In under 2 minutes, a small flame can become a raging blaze. Smoke detectors act as your early warning system. It gives you and your family time to escape safely.
Here’s what smoke detectors can help you avoid:
Injury or fatality due to smoke inhalation
Significant property damage
Loss of irreplaceable belongings
The National Fire Protection Association (NFPA) reports that three out of five home fire deaths occur in properties without working smoke alarms. Don’t let your home be part of that statistic.
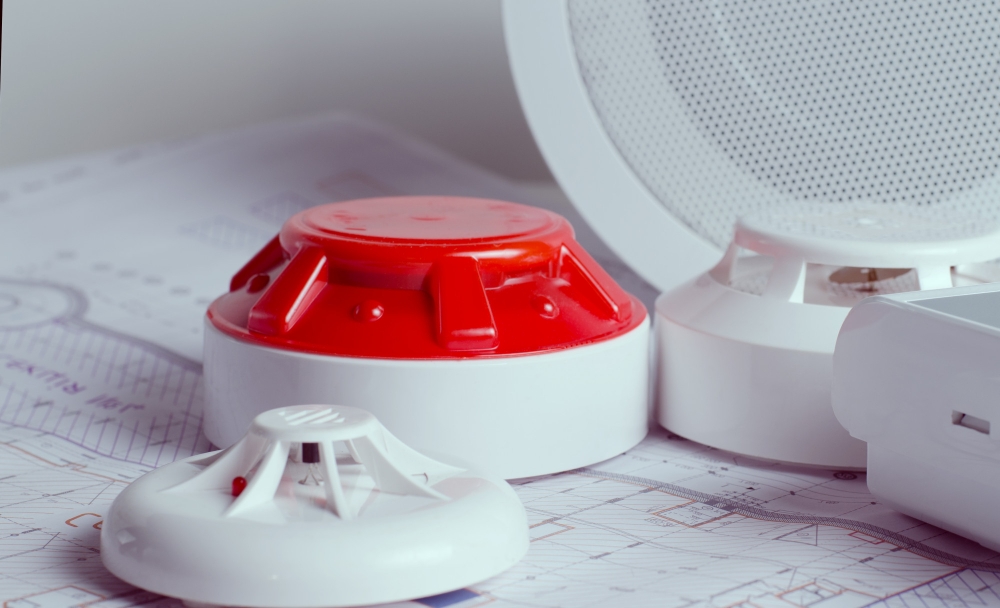
There are different types of smoke detectors. Choosing the right one is the first step toward a safer home.
Ionization Smoke Detectors – Respond faster to flaming fires.
Photoelectric Smoke Detectors – Better at detecting smoldering fires.
Dual-Sensor Smoke Detectors – Combine both technologies for best coverage.
Smart Smoke Detectors – Offer remote alerts and connectivity via apps.
Combination Alarms – Include carbon monoxide detection.
Tip: For most homeowners, dual-sensor or smart smoke detectors offer the best balance of speed and precision.
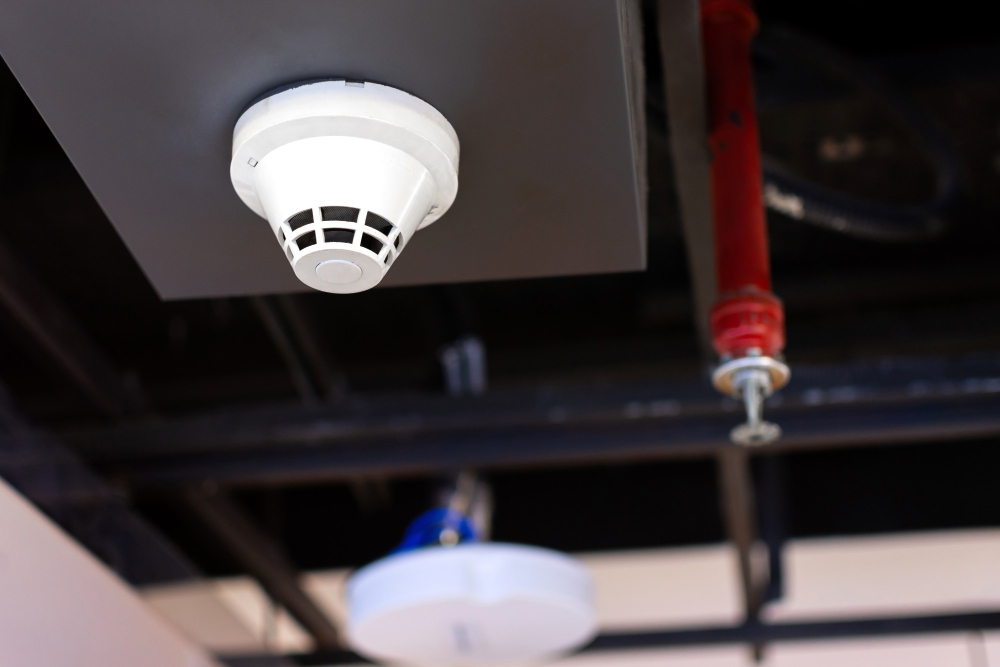
Step 2: Understand Placement Requirements
Proper placement ensures maximum coverage. Here's where you must install smoke detectors:
In every bedroom
Outside each sleeping area (like hallways)
On every level of your home, including the basement
Near stairways
Inside and outside kitchens (with special placement—more on that below)
Avoid placing them near:
Vents, fans, or windows
Bathrooms (steam can trigger false alarms)
Cooking appliances (place at least 10 feet away)
Placement Pro Tips:
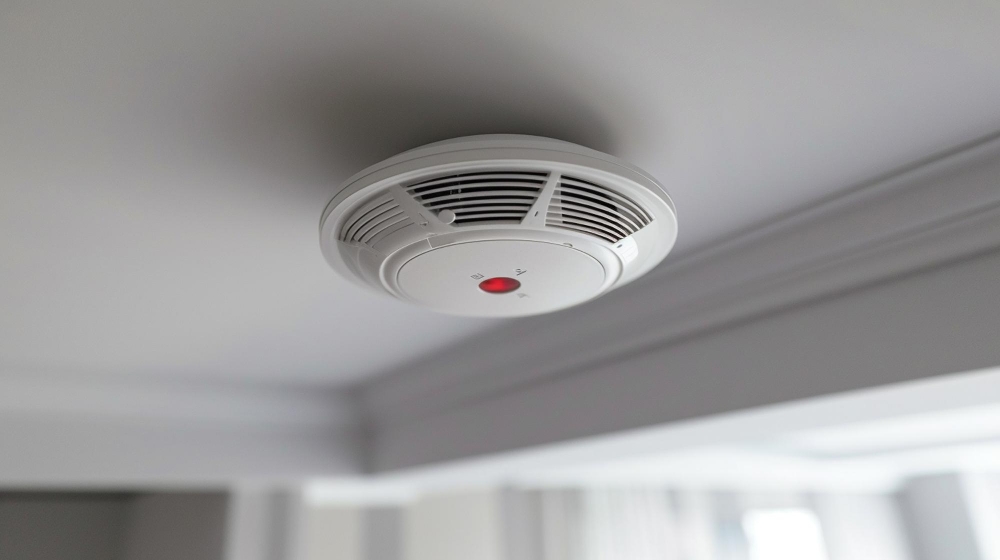
Mount on ceilings when possible. Smoke rises.
If wall-mounted, position the alarm 4–12 inches below the ceiling.
For sloped ceilings, install within 3 feet of the peak, but not at the highest point where dead air may collect.
Step 3: Follow Local and National Code Compliance
Not all smoke detector requirements are the same. Codes vary by state and even by county.
What to check for in Queens, NY:
All new constructions must use hardwired smoke alarms with battery backup.
Homes undergoing renovations may need upgrades to their existing alarms.
Combination CO and smoke alarms may be required in certain zones.
Alarms must be UL-listed and replaced every 10 years.
Compliance Tips:
Check your local building department's website.
Refer to NFPA 72, the national standard for fire alarm systems.
Hire a licensed electrician (like us!) to ensure everything is up to code.
Step 4: Install Smoke Alarms with the Right Tools and Mounts
While some homeowners choose DIY routes, electrical work—especially with hardwired alarms—requires precision.
Here’s a basic guide to installation:
What You'll Need:
Smoke detector units
Mounting brackets (usually included)
Drill with appropriate bit
Screwdriver
Wire nuts (for hardwired models)
Voltage tester (for safety)
Ladder
Installation Tips:
Turn off the circuit at the breaker box before working.
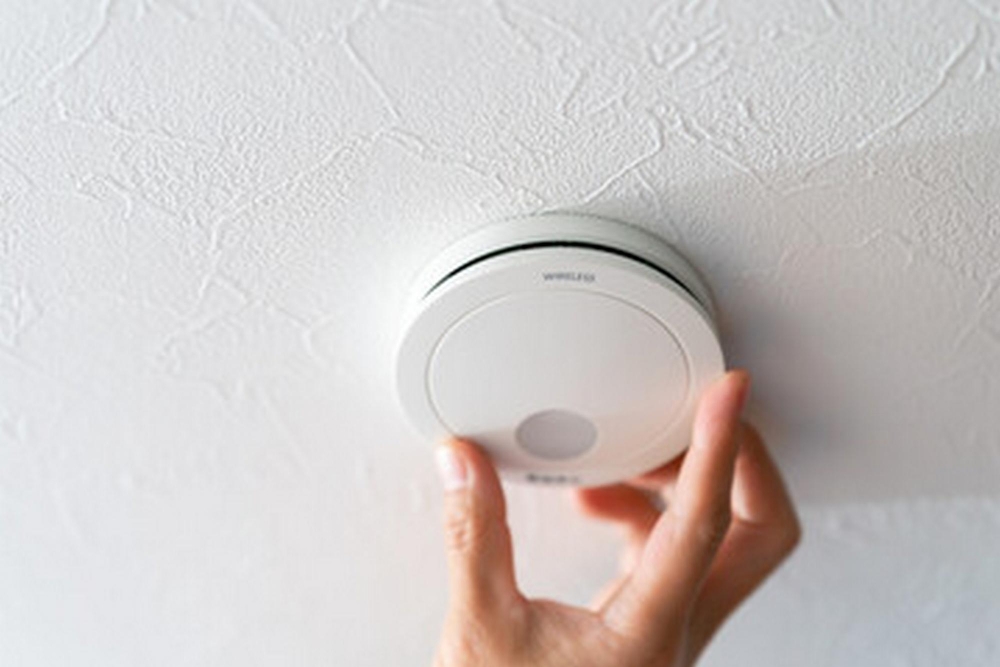
For battery-powered models, follow the manufacturer’s instructions and ensure a snug ceiling mount.
For hardwired units, carefully connect the black (hot), white (neutral), and red (interconnect) wires.
Always test the unit after installation.
Reminder: If you’re uncomfortable with wiring, call a licensed electrician. Mistakes can lead to electrical hazards or non-functioning detectors.
Step 5: Test Every Smoke Detector Immediately
Installation isn't complete until each unit is tested.
How to Test:
Press the test button on each alarm.
Listen for a loud siren—this confirms battery and circuitry.
Use real smoke (like from an incense stick) to ensure the detector senses smoke.
🧪 Testing Tips:
Do this with everyone home so they recognize the alarm.
Educate children on what the alarm sounds like and what to do.
Step 6: Schedule Routine Maintenance
Once installed, the job isn’t over.
Smoke detectors need care and attention to remain effective.
Maintenance Checklist:
Test each alarm monthly
Replace batteries every 6–12 months (unless using 10-year sealed batteries)
Vacuum around the detectors every 3–6 months to remove dust
Replace the entire unit every 10 years
Check expiration dates printed on the back of the detector
Bonus Tip: Set calendar reminders or use smart home apps to stay on track.
Step 7: Create and Practice an Escape Plan
Your smoke detectors are the first alert. Your family’s reaction is the next step.
Create a plan:
Identify two exits per room.
Assign a meeting spot outside.
Teach everyone how to call 911.
Conduct fire drills at least twice a year.
Practice Tips:
Use a stopwatch to simulate real conditions.
Try drills at night to mimic a real emergency.
Involve children in planning—make it interactive.
Safety Tips at a Glance
Here’s a quick-fire list of essential smoke alarm tips:
Install smoke alarm detectors in every bedroom and on each floor
Keep them at least 10 feet away from kitchens and showers
Test monthly and replace batteries regularly
Upgrade to smart alarms for real-time alerts
Don’t paint over detectors
Replace every 10 years
Interconnect alarms where possible
Schedule professional inspections annually
Avoid These Common Mistakes
Even well-meaning homeowners make errors. Here’s what not to do:
Ignoring expiration dates
Relying on battery alarms only when hardwiring is needed
Skipping basement or attic areas
Installing near vents or fans
Forgetting to test or replace batteries
Not educating kids about fire alarms
The Professional Touch Makes All the Difference
DIY might seem like a budget-friendly choice. However, there’s a reason homeowners hire licensed electricians for smoke detector installations.
When you hire professionals, you get:
Code-compliant placement
Proper wiring and power integratio
Secure mounting
Functional testing
Peace of mind
Stay Protected with D33 Electric LLC
Smoke detectors are the unsung heroes of home safety. But for them to work, they must be chosen, installed, and maintained properly.
At D33 Electric LLC, we offer professional smoke detector installation services in Queens, NY. Whether you're building a new home or want to upgrade your safety system, we’ve got you covered.
Reach out today to schedule your smoke alarm installation or inspection. Your safety is our mission—let’s make your home fire-ready and secure.